Showing posts with label Gargoyle's Quest. Show all posts

Monday, October 26, 2009

RGR010 - The Red Blaze

I was warned that the Naga's Path, which leads to Rushifell's palace, was a series of traps, where only one path entrance was the correct one. Fortunately, I was also told that the correct entrance was the fifth one down, from the north. The area is quite a bit larger than the Game Boy's screen, though, so I had to guess a little. Fortunately, I found the right one quickly. On the other side, I entered Rushifell's palace and confronted him, but he wanted to test my powers before fighting me directly. I think he was really just trying to tire me out to gain an advantage.

So I was instead dropped into a gauntlet of long flights, spike-lined floors and wall-mounted drills. The stage was actually surprisingly difficult, since the game's hit detection made avoiding the drills nearly impossible at times, and the drills do 2 points of damage, leaving me unable to take two hits without dying. After countless deaths and continues, though, I was able to reach Rushifell's throne room.

Fifth Boss: Rushifell

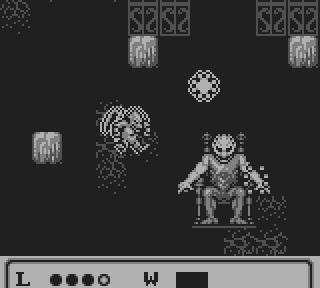
Unlike the previous bosses, Rushifell doesn't fly or teleport around the room; he doesn't move at all. He sits nearly motionless in his throne in the center of the room, letting his magic do the work for him. Small platforms dot the room, and Rushifell occasionally fires bolts of magical energy at them, but his main method of attack is the homing spark, a ball of energy that slowly trails you, forcing you to stay on the move. His weak spot is his head, but it's often blocked by his arms as he fires his magic bolts around the room. With patience, though, he's not too difficult; just keep moving in circles around the room, and open fire when his arm is down on your side.

Upon defeat, Rushifell happily gave me the Eternal Candle, recognizing me as the true Red Blaze. At that point, the full potential of my power was unlocked, including jump and flight upgrades, as well as the power of Darkfire, my most powerful weapon.
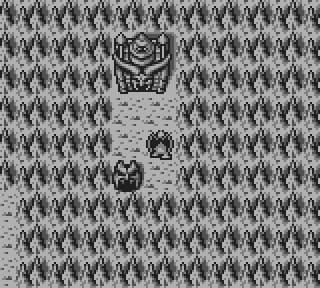
Wow, his palace is as nice as Darkoan's!
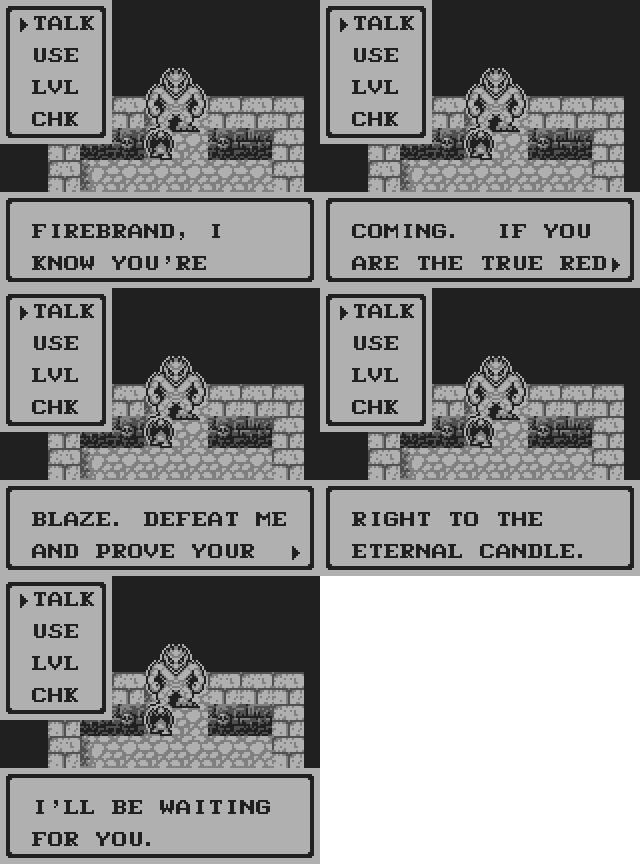
Have come. Past participle. I'm here now.


Put your hand down so I can hit you!
I can't believe he actually did it.
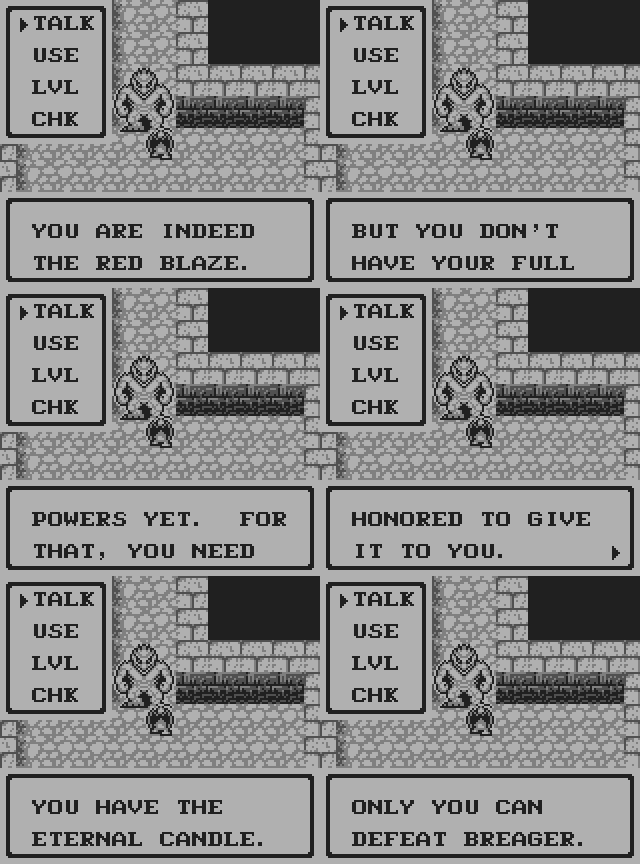


You're a nicer guy than I expected.
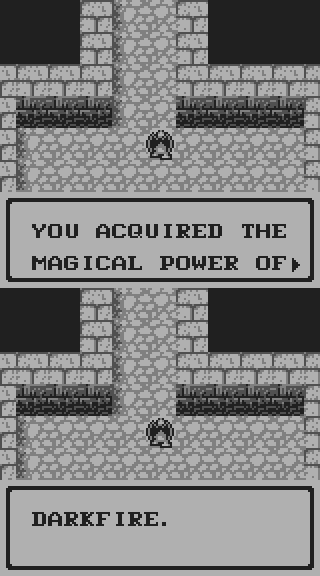
Ooh, I'm at least five times more awesome now.


With my powers fully awakened, I exited the back door of Rushifell's palace to find it led directly to Breager's. Inside, the palace was tower-like, and included paths that looped into each other; however, as long as you concentrate on the ascent, it's easy to stay on the right path. Thanks to the power of the Eternal Candle, I now have unlimited flight capability, and with the Power of Claw, I was easily able to scale the spiky walls of the palace and reach King Breager's throne room.

Breager was obviously afraid of me, as he tried to convince me to join him instead of fighting. But that's an old trick that goes back at least as far as the first Dragon Warrior, so I'd never be fooled that easily. With no other choice, King Breager prepared himself for the final battle.

Final Boss: King Breager

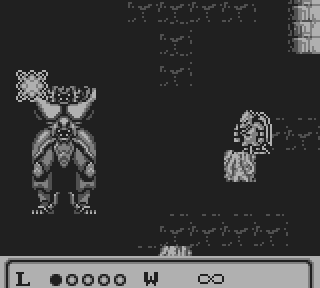
Like Rushifell before him, Breager was suspended motionless in the center of the room, attacking me with homing sparks and other projectiles. However, with the heft of his armor and pattern of his attacks, Breager's head was a much more difficult target to hit. If I managed to outrun a homing spark and force it off-screen, he would throw his hands up in order to create another one; this meant that I had to keep the spark close in order to ever have a chance of an opening. In addition, King Breager is only vulnerable to my newly-acquired Darkfire, which is a larger and more cumbersome fireball, and of which only one may appear on-screen at any time. This made the assault slow and frustrating, since I had to avoid the homing spark, draw it close, then jump up to line up a shot at Breager's head; and there was a good chance he wouldn't let his guard down until after I was forced by the homing spark to break away and move to the other side.

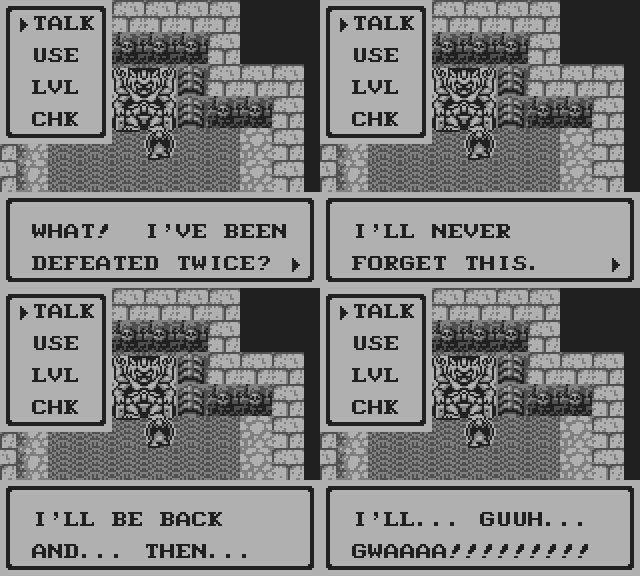
Several attempts later, I finally managed to defeat King Breager, after which I was whisked away to King Darkoan's throne room. Amidst the cheering monster-things was the little imp I defeated earlier, waiting to congratulate me. With Breager destroyed, King Darkoan was able to regain his remaining power, and he offered me the entire Earth Realm to rule if I could conquer it. I doubt it'd be much trouble at this point.
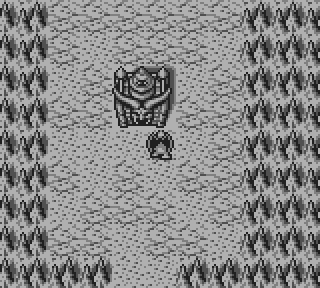
Everyone hired the same palace-building company.
It's on, Breager!
It's on, Breager!


Ha, did you think I'd fall for that?
Bring it!
Bring it!


Oh, so Rushifell was practice for this.
And it paid off!
And it paid off!


You'll what?
You'll what?
while(1) { bgcolor ^= 3; }
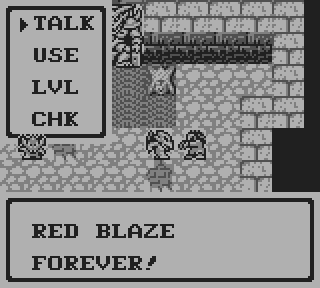


Or at least until the sequel.
Was there ever any doubt?


The whole earth? Sweet!
This story is happy end.


That's it for Gargoyle's Quest! See you next game!

What game, you ask? Well, here's a hint: it's the sequel to a game I've played through recently. Very recently.

RGR010 - The Candle of Darkness

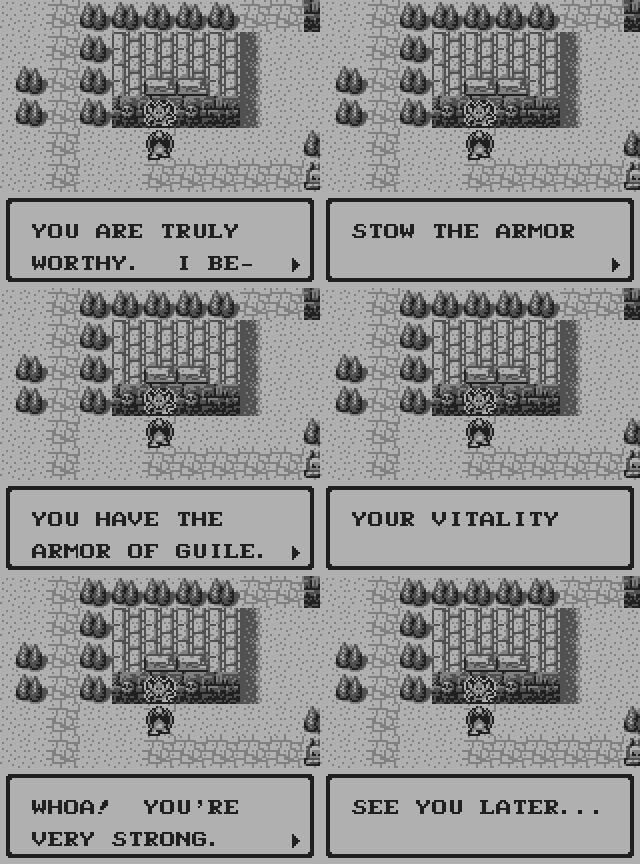
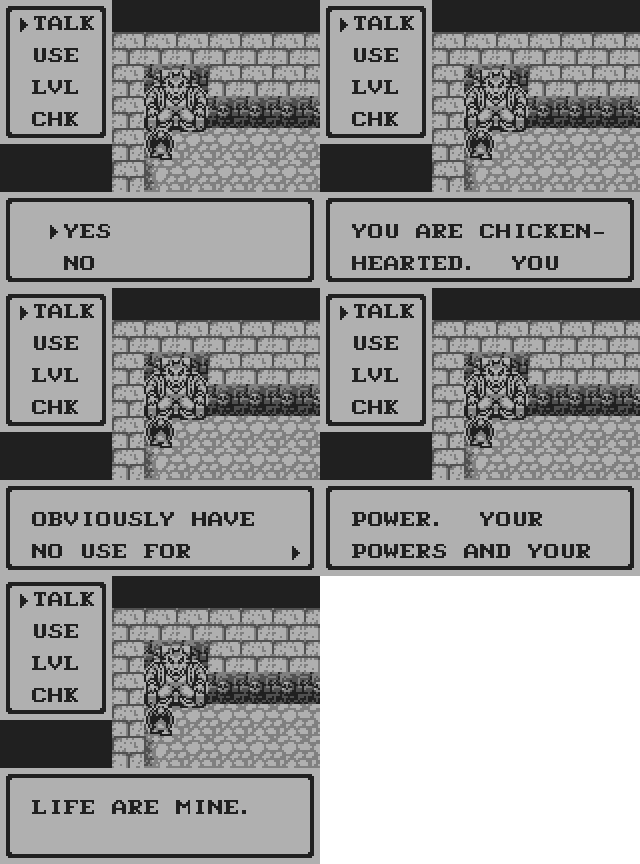
Soon after I arrived in the town where this Bymon fellow lives, I was informed that the Candle of Darkness, an item I would need to be able to meet Majorita, was stolen, and was currently hidden in the Desert of Destitution. I also ran into a tough-acting little imp who challenged me to a battle, and when I pummeled and humiliated him, he rewarded me with the Armor of Guile, which increased my hit points to an impressive four. With the imp out of the way, I was able to enter Bymon's quarters, where he never actually asked me to retrieve the candle, but I was once again given a yes/no prompt. When I said yes, Bymon insulted me... I think. I'm not sure that "chicken-hearted" really offends me. The second time, I said no, and Bymon called me brave and offered to lead me to Majorita if I could get the candle back. So I set out east to begin the search.

Uh, thanks?
Uh, thanks?
Show of hands; who didn't expect that?

But you're so tiny!
But you're so tiny!
I prefer the Armor of Blanka.

Oh, I'll find a way.
Yeah, I heard about the candle. Bummer.

But I think I agreed to go get it back...
Okay, I'm confused now.

The Desert of Destitution is a maze of shifting sands, where one false step sends you hurtling away from your destination: a cave in the middle of the northern part of the desert. With time and perseverance, though, I found my way in. The cave began with a vertical drop through a spike-lined shaft, with the occasional bare wall to cling to in order to replenish my flight power; after dodging bees and patches of upward-pointing spikes, I reached the next area of the cave. Here, I had to navigate pits of quicksand with piranha skeletons, a chase from a flying flytrap, and yet more spikes to get to the boss.

Fourth Boss: Zakkudruzer

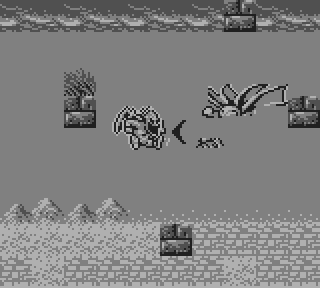
I may have just gotten lucky and quickly driven him into a pattern, but Zakkudruzer seemed far too easy. He's land-based, which gives me a bit of an advantage, though he can jump fairly high. But he jumps at specific intervals, and can only change direction at the time of a jump, so I was able to lead him underneath me, and keep him on the lowest level of the room for most of the battle. Each time he jumped, I'd fire at him a few times, and then hop up to the top platforms to wait for him to pass under me. After several passes back and forth, he was done for. I never even took damage; since I got there with one hit point left, I couldn't afford to.

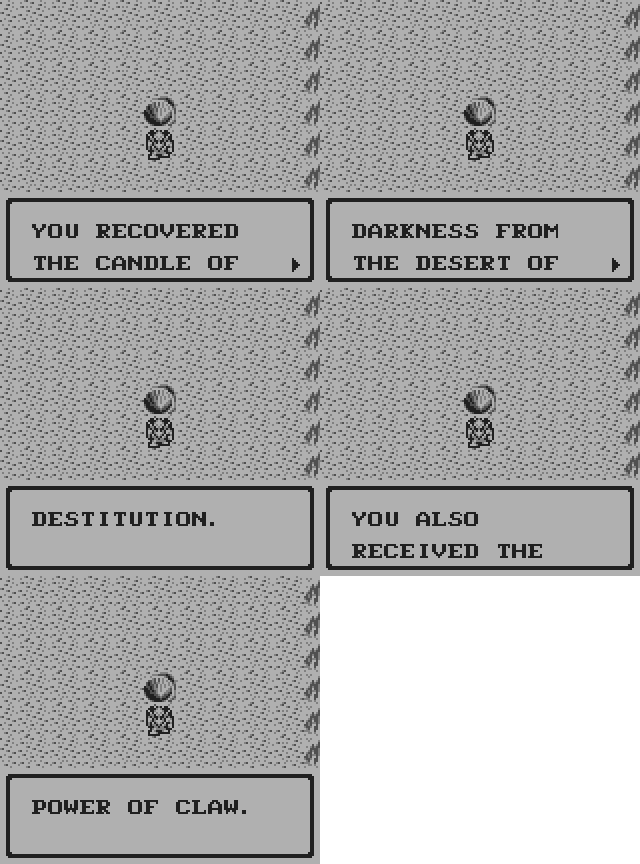
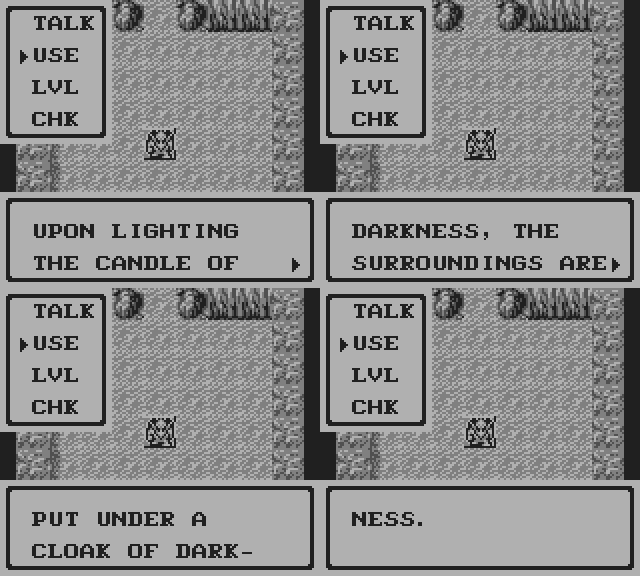
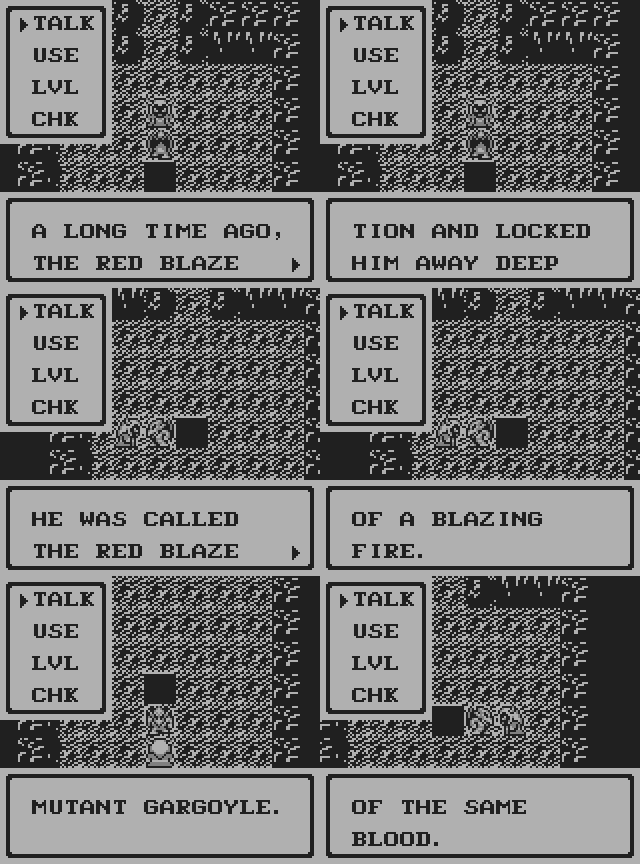
After defeating Zakkudruzer, I exited the desert cave with the Candle of Darkness, and also obtained the Power of Claw, which allows me to fire a sticky, fast-drying substance that latches on to spiked walls, giving me the ability to scale them safely. I really could have used that inside the cave. I brought the candle back to Bymon, who turned my attention to a hidden passage in his chamber that led to Majorita's cave. I lit the Candle of Darkness at the altar in the center of her room, and she appeared, telling me the legend of the Red Blaze, and informing me that it was not some mystical power, but a gargoyle (and a mutant one at that). She also said one remained of the Red Blaze's bloodline... you can see where that's going. Some of Breager's henchmen appeared to try to prevent me from getting out of the cave alive, but come on.
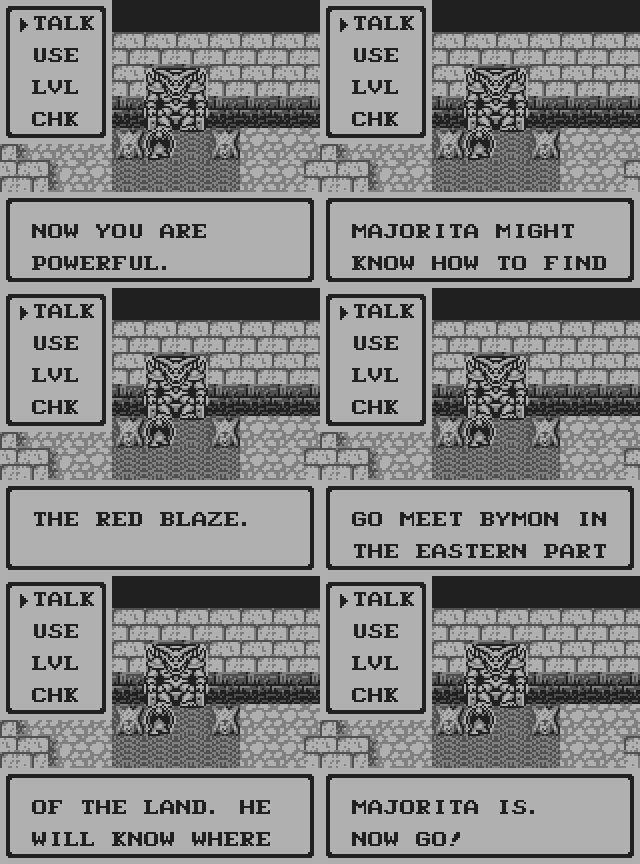
I'm the new Red Blaze; henchmen mean nothing to me now.

You don't look so tough.
And it looks like you weren't.

Well, NOW it's destitute.
Ooh, I like secret passages!

Sorry, it's not up to you, or Breager.
Well, not just any candle.

Hey, this candle is broken!
Hmm... I wonder who it could be...

Then why'd you let her tell me?
What shocking news!
What shocking news!

So now I have to head even farther east to meet up with this Rushifell guy, who will hopefully help me unlock the rest of my abilities.

The end is nigh; I told you it'd be a quick one.

Saturday, October 24, 2009

RGR010 - The Road to Darkoan's Palace

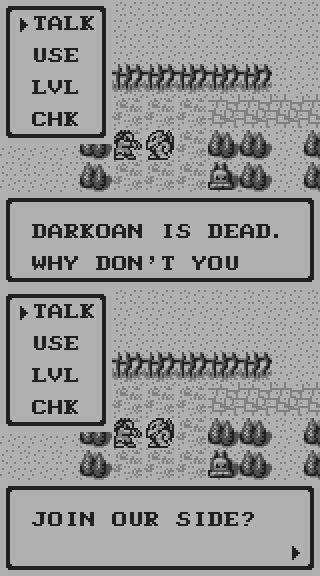
I went back to the area where the zombie was blocking the path to the palace, and he not only allowed me passage, but also gave me the Armor of the Dragon. The armor increased my vitality, so that I now have three hit points instead of two. Yippee!

I eat danger for breakfast. It's delicious!
I haven't lost the palace.

Well, I trust Jark's intuition on this one.
And some full of root beer and banana pudding.

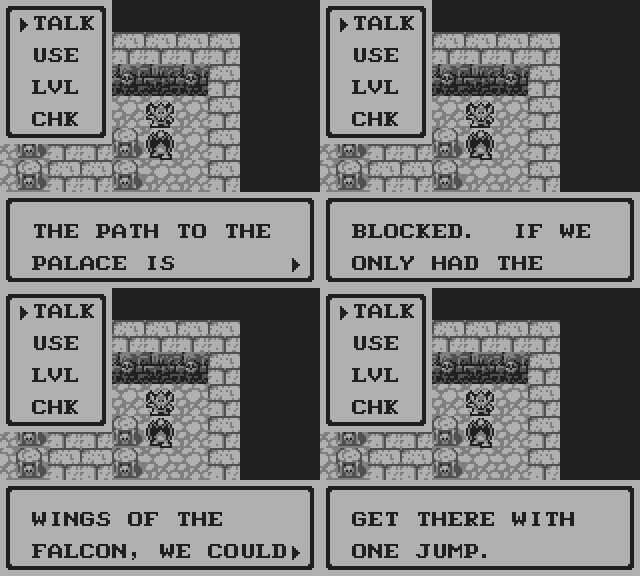
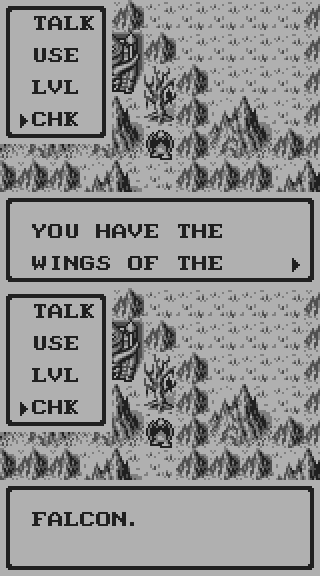
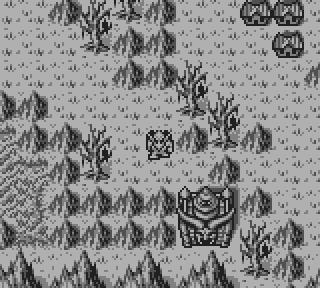
The path through the mountains was simple enough, with spike-lined pits and some enemies, and I easily overcame them and reached a town on the other side, where I learned that the next leg of my journey to the palace would require the Wings of the Falcon. Of course, the very next thing I learned was that someone had seen some wings by a tree nearby, which might be said wings. I searched a bit for the tree, which was near the palace but on my side of the mountains, and found what were, sure enough, the Wings of the Falcon.

Yeah, if only...
Yeah, if only...
They must be, because I need them.

Wow, brain hurts...
Wow, brain hurts...
Wow, that's harsh.
Wow, that's harsh.

Because I'm the GOOD guy.
What if I do?
What if I do?

The path across the broken bridge did indeed include some spans that I wouldn't have been able to cross without the flight upgrade, and since the bridge led across a pit of lava, missing a jump is automatically fatal. On the other side, a short walk brought me to King Darkoan's palace, which was now teeming with bad guys. I fought my way through them until I finally reached the palace gate, which was guarded by a boss.

Third Boss: Bellzemos

The winged skull monster Bellzemos would be a very straightforward boss, if it weren't for the fact that he teleports, and each time he does, he leaves four diagonal-traveling bees in his wake. After he appears, he begins slowly flying directly toward where you were when he appeared, and fires sparks at you. It's easy enough to control his flight path by being where you want him to go, and retreating once he starts moving. As long as he doesn't appear too close to you, he's pretty easy.

Sounds like an '80s power ballad.
I'm coming, King Darkoan!

You can fly through walls? No fair!
That's all you've got?

I've got your... candle.
Yay, I made him move a little!

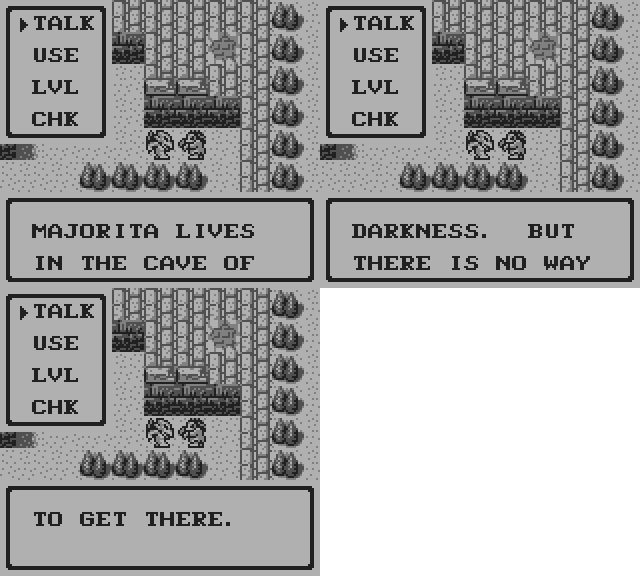
With Bellzemos destroyed, I rushed into the palace to find King Darkoan sitting frozen, muttering a vaguely bark-like sound. I lit the Candle of the Poltergeist, and he began to regain consciousness. Once he realized he was free of his bindings, he thanked me by giving me some of his power, which increased both my jump height and my flight duration. He also told me to seek the Red Blaze, the legendary power that saved the Ghoul Realm from King Breager's army hundreds of years ago. I'd need to find someone named Majorita, which I'm pretty sure is a non-translation of "Majo Rita", which would mean "Rita the Witch". However, since King Darkoan couldn't tell me where to find her, he pointed me toward a guy named Bymon in the east who might know where to find Majorita.

Yay upgrades!
Yay upgrades!
Oh, so you're not all-knowing then?

In any case, I'll have to head east, since that's currently the only direction I can go.

For a game that looks like an RPG, Gargoyle's Quest is awfully linear.